最近换了一台mac,配置了一下终端(terminal)环境,在此记录一下,以便后续查阅,同时给分享给网友作为参考。本文不会细无具细,只会列举出主要步骤和相关配置参考资料。主要包括以下四个部分:
- 安装 iTerm2
- 安装 oh-my-zsh
- 配置 powerlevel10k
- 配置插件
终端效果:
vim效果: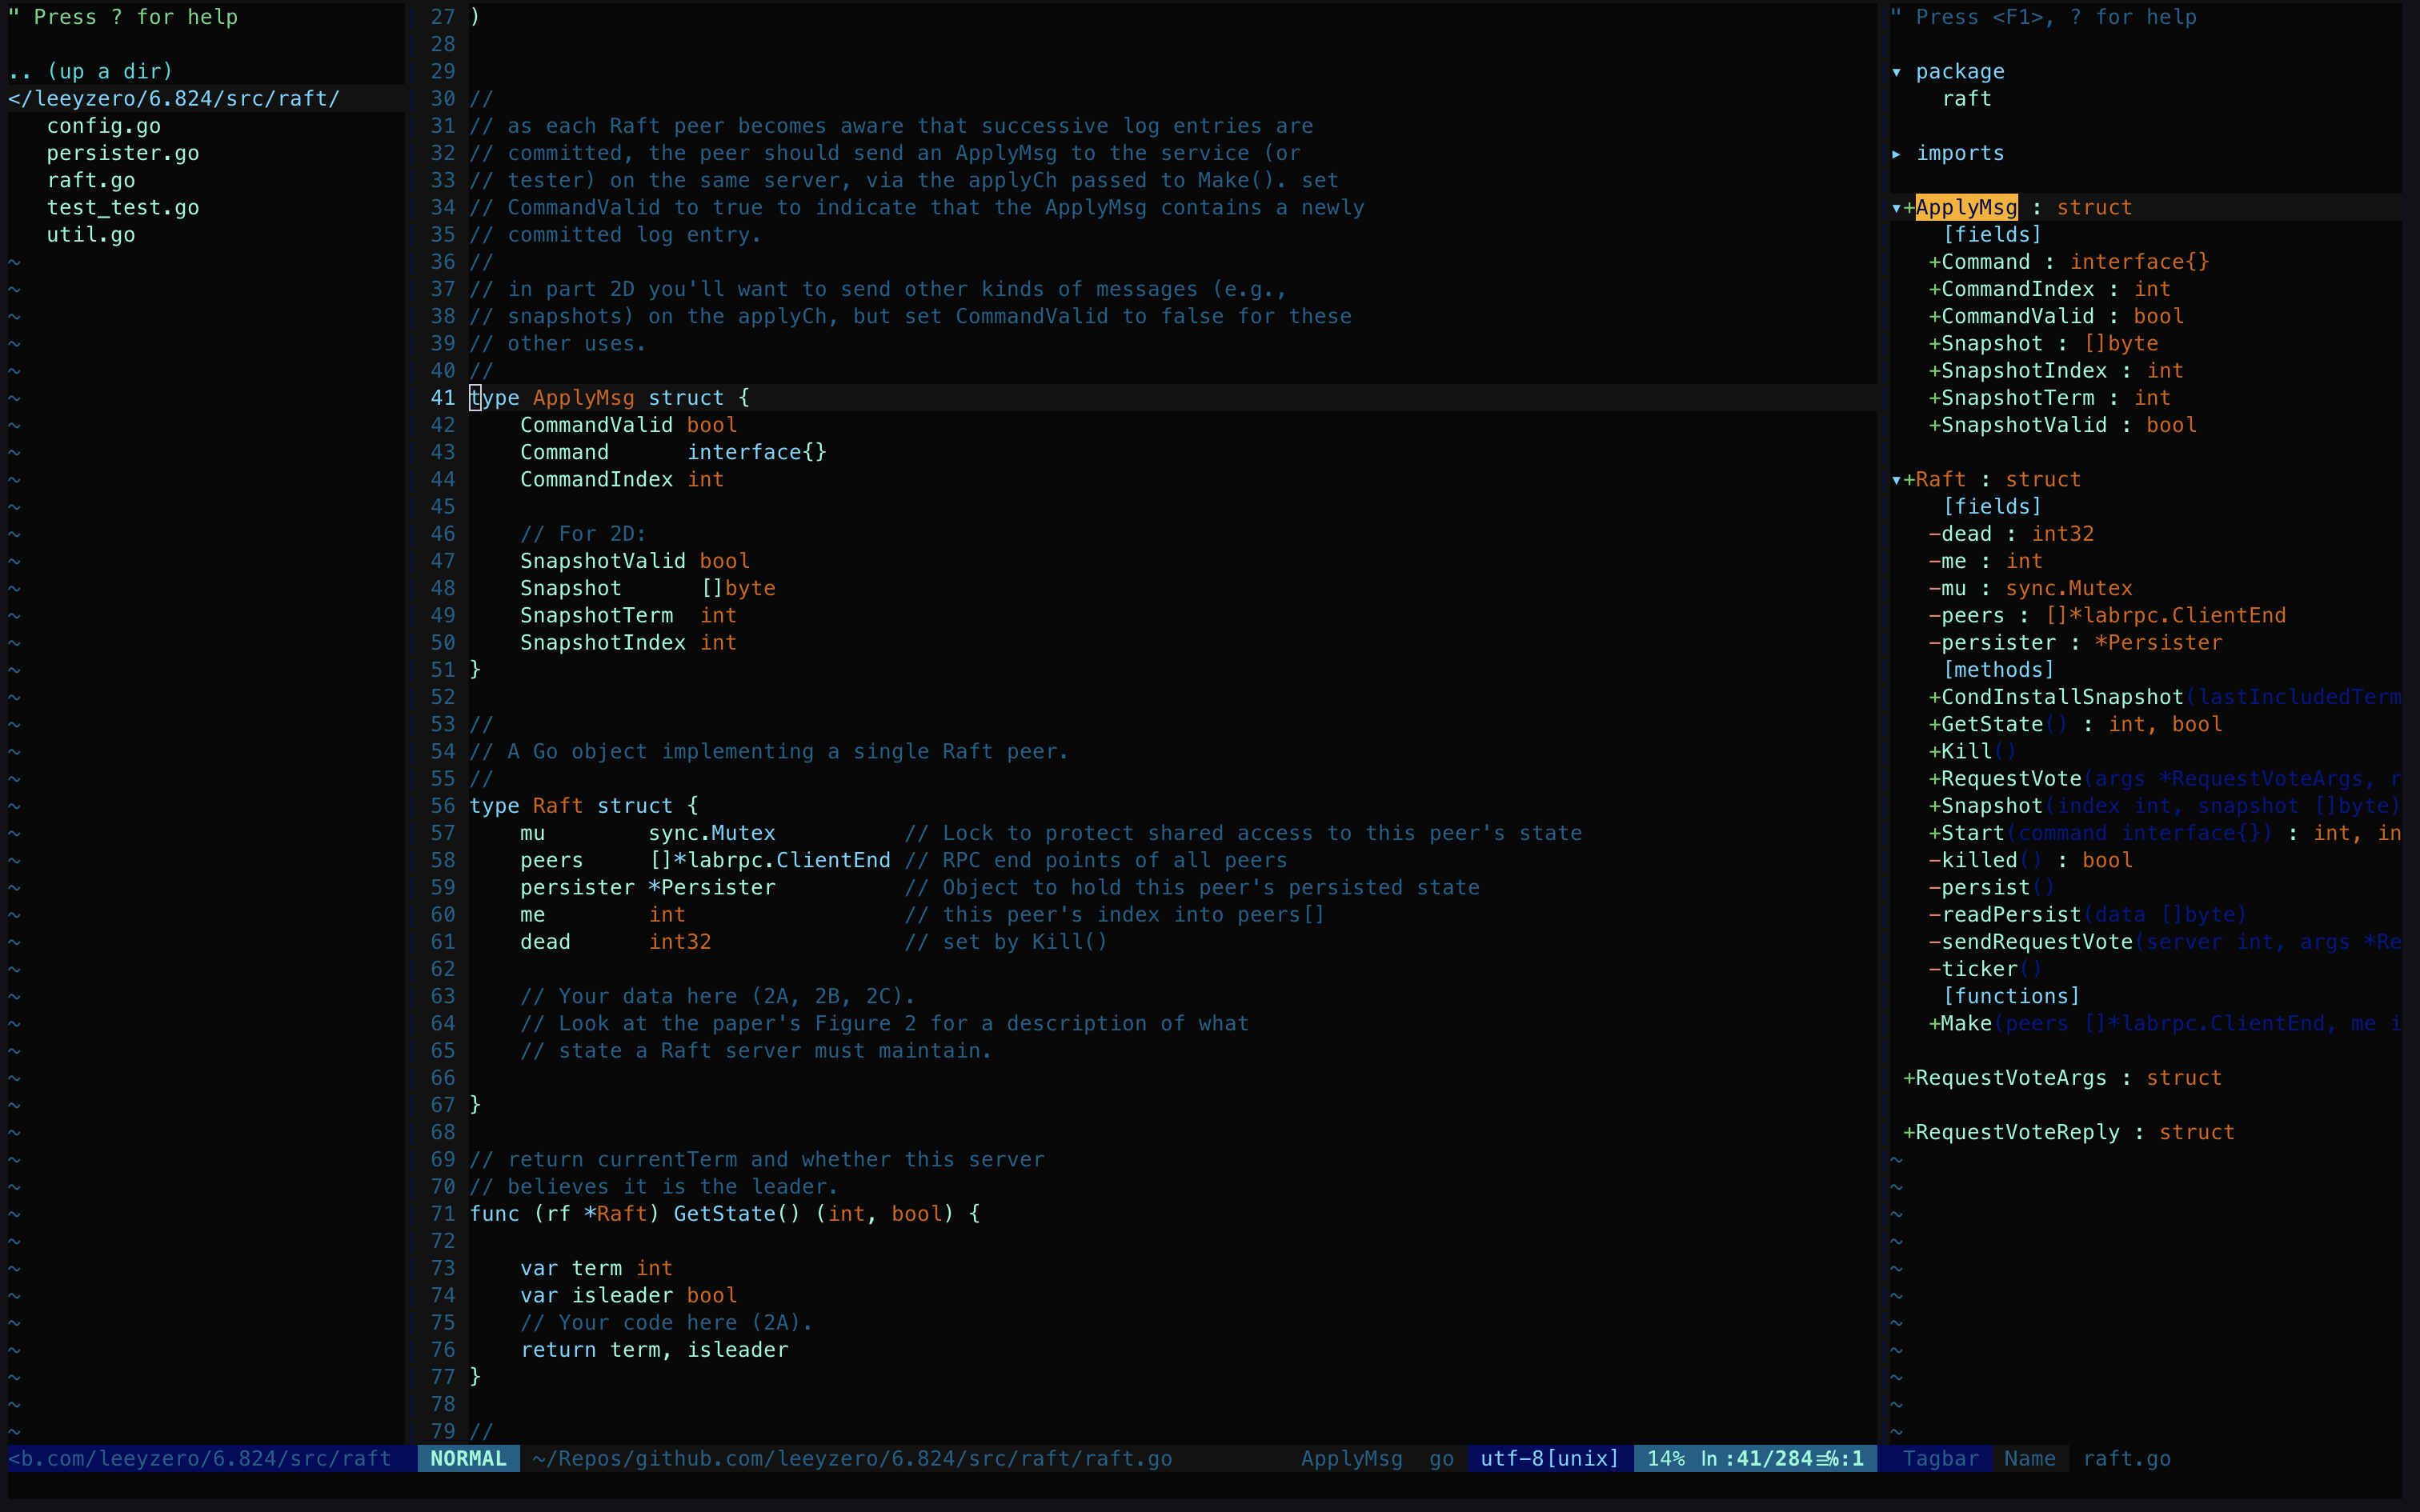
安装iTerm2
如果你安装了homebrew的话,可以使用brew安装:
1 | brew install --cask iterm2 |
你也可以在iTerm2官网下载安装。
安装好iTerm2后,可以配置你喜欢的主题:
1 | iTerm → preferences → profiles → colors → load presets |
也可以在iterm2colorschemes找到更多主题。我使用的是GitHub Dark。
安装oh-my-zsh
使用curl安装:
1 | sh -c "$(curl -fsSL https://raw.githubusercontent.com/robbyrussell/oh-my-zsh/master/tools/install.sh)" |
安装好后,编辑~/.zshrc更改配置。可以在oh-my-zsh中找到更多配置项说明。
安装字体补丁
- 下载以下4个字体文件:
- 点击每个字体文件,逐一安装。字体文件将会安装到系统中。
- 在终端中使用字体
1 | open iTerm2 → Preferences → Profiles → Text and set Font to MesloLGS NF. |
配置powerlevel10k
下载powerlevel10k:
1 | git clone https://github.com/romkatv/powerlevel10k.git $ZSH_CUSTOM/themes/powerlevel10k |
编辑~/.zshrc,设置ZSH_THEME="powerlevel10k/powerlevel10k"。配置完成后,重启iTerm2终端,你将看到powerlevel10k的配置引导,将引导一步步完成配置。
powerlevel10k提供很多配置项,更多配置项说明请参考这里。
配置插件
zsh有很多插件可配置,在此我只配置了以下两个插件:
clone上述两个插件至本地:
1 | git clone https://github.com/zsh-users/zsh-autosuggestions ${ZSH_CUSTOM:-~/.oh-my-zsh/custom}/plugins/zsh-autosuggestions |
在~/.zshrc中添加插件:
1 | plugins=( |
参考资料
[1] iterm2-solarized_instructions
[2] Configuration of a beautiful (efficient) terminal and prompt on OSX in 7minutes