工欲善其事,必先利其器。作为一个曾经的资深vim党,在使用过CodeServer后,基本上不再使用vim了。CodeServer作为vscode的云端IDE,再也不用搭建本地开发环境了。之前介绍了 CentOS搭建CodeServer环境,只需要几步,就可以搭建自己的云端IDE,非常方便。
vscode-go是vscode中针对Go语言的扩展,提供了丰富的特性,包括:
- 智能感知(IntelliSense)
- 代码导航(Code navigation)
- 代码编辑(Code editing)
- 诊断(Diagnostics)
- 增强的测试和调试支持(Enhanced support for testing and debugging)
vscode提供了语言无关的调试适配协议 Debug Adapter Protocol,使用各语言可以基于vscode的扩展实现各自的调试器。对于Go语言,其实现为dlv-dap。
本文主要介绍在vscode如何使用vscode-go提供的debugging能力对go代码进行调试。
准备环境
1、安装Go,Go版本大于等于1.18
Shift + command + P
Go: Install/Update Tools

创建项目
接下来,我们先创建一个简单的Go项目。
1 | mkdir hello & cd hello |
我们实现一个Reverse Server,将请求的body内容反转输出。为了展示效果,故意对Reverse的实现留下bug。在这个例子中,我们会先介绍如何使用vscode生成单元测试,然后使用Launch方式调试单元测试。接着介绍如何采用Launch方式和Attach方式调试主程序。
1 | package main |
生成go.mod文件:
go mod init hello
go mod tidy
生成单元测试
有两种方式对函数生成单元测试,以Reverse函数为例:
方式一:在Reverse函数上右键 > Go: Generate Unit Test For Function
方式二:Shift + command + P,Go: Generate Unit Test For Function
然后自动生成main_test.go。
1 | package main |
单元测试按表驱动法,我们只需要在TODO中填充相关的case即可。
1 | package main |
运行单元测试
有两种方式运行单元测试:
方式一:go test命令行运行单元测试
1 | go test -v --run TestReverse |
输出的结果如下: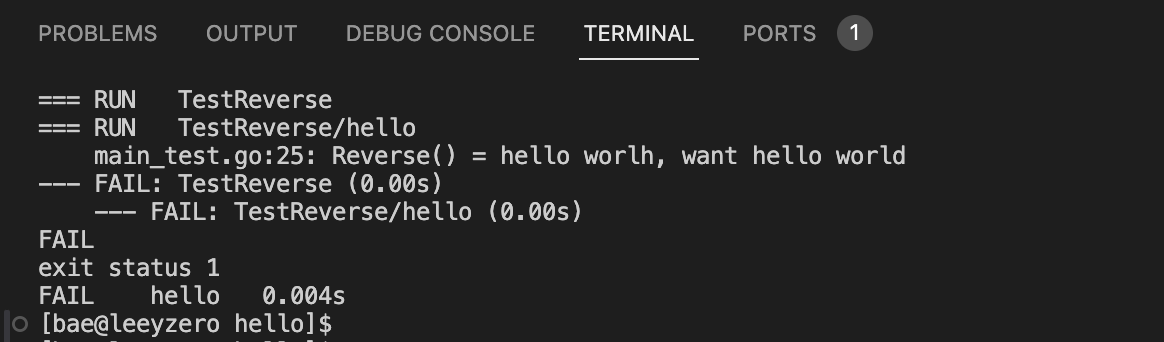
-v 输出详细,--run指定要运行的单元测试,支持正则。 更多参数可以执行go help testflag查看。
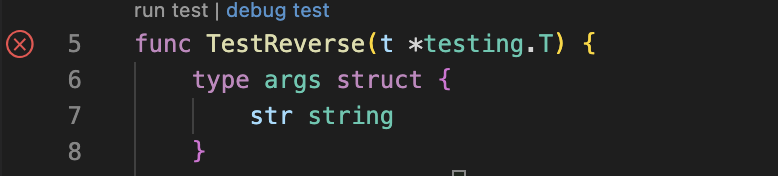
方式二:使用TestUI,直接点击单元测试函数上的run test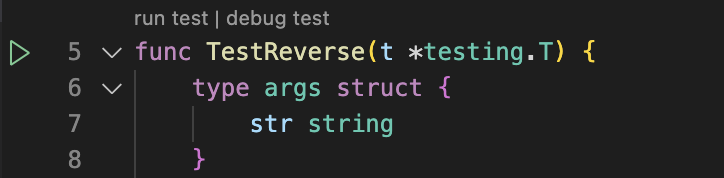
输出结果如下: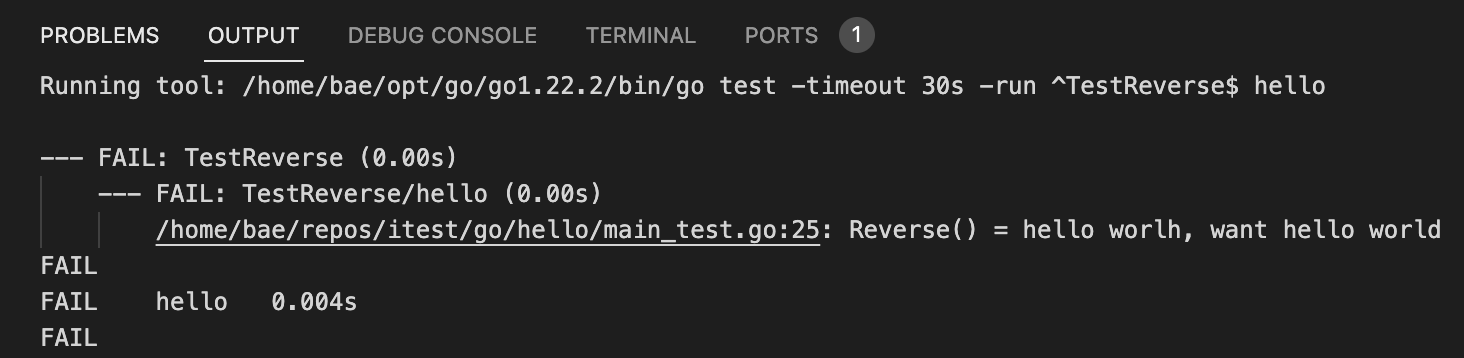
不出所料,单元测试是失败的。接下来,看看如何使用调试工具进行调试。
调试单元测试
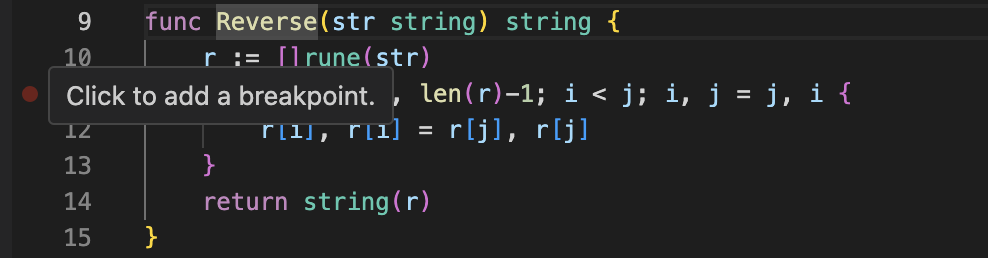
在要调试的代码行中设置断点:
在单测函数上点击debug test
运行后,程序会在断点出停顿,此时,我们可以看到变更区、调用栈、断点信息等:
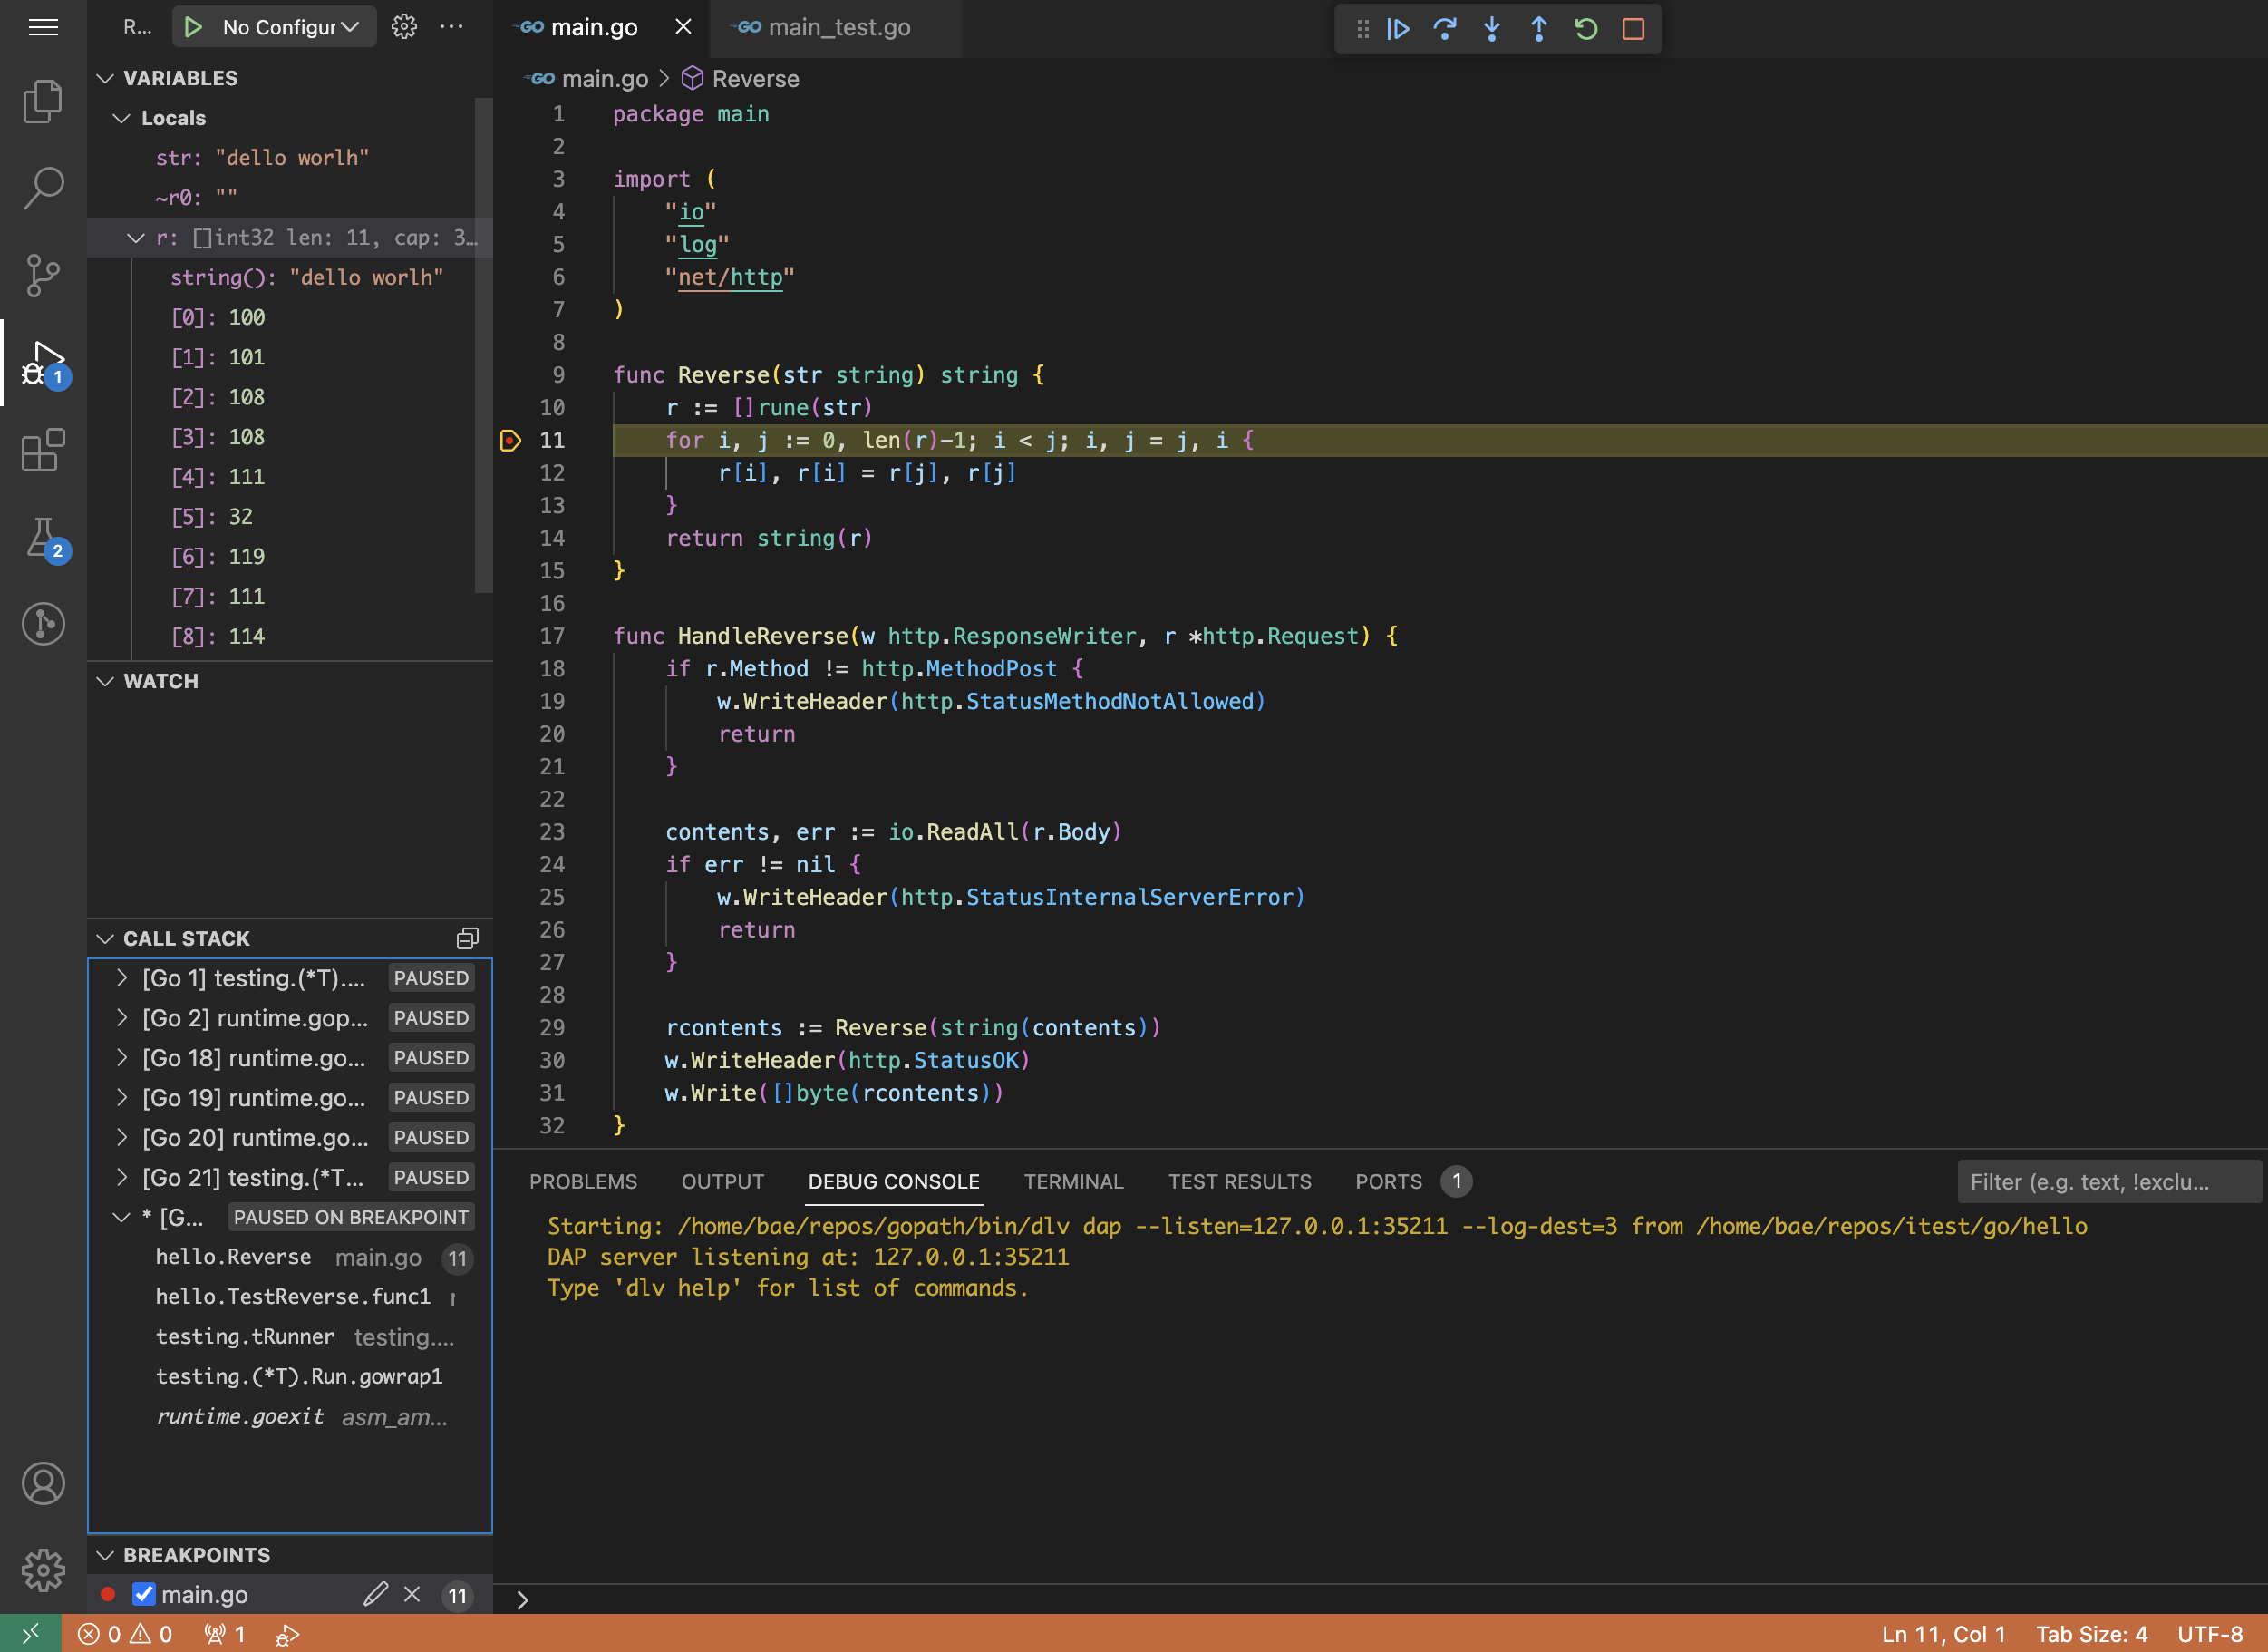
根据这些信息,对代码进行调试修复。另外还可以设置条件断点。对断点点击右键 > Edit Breakpoint…
有些时候,单元测试需要带命令行参数,此时可以使用vscode的Launch功能。
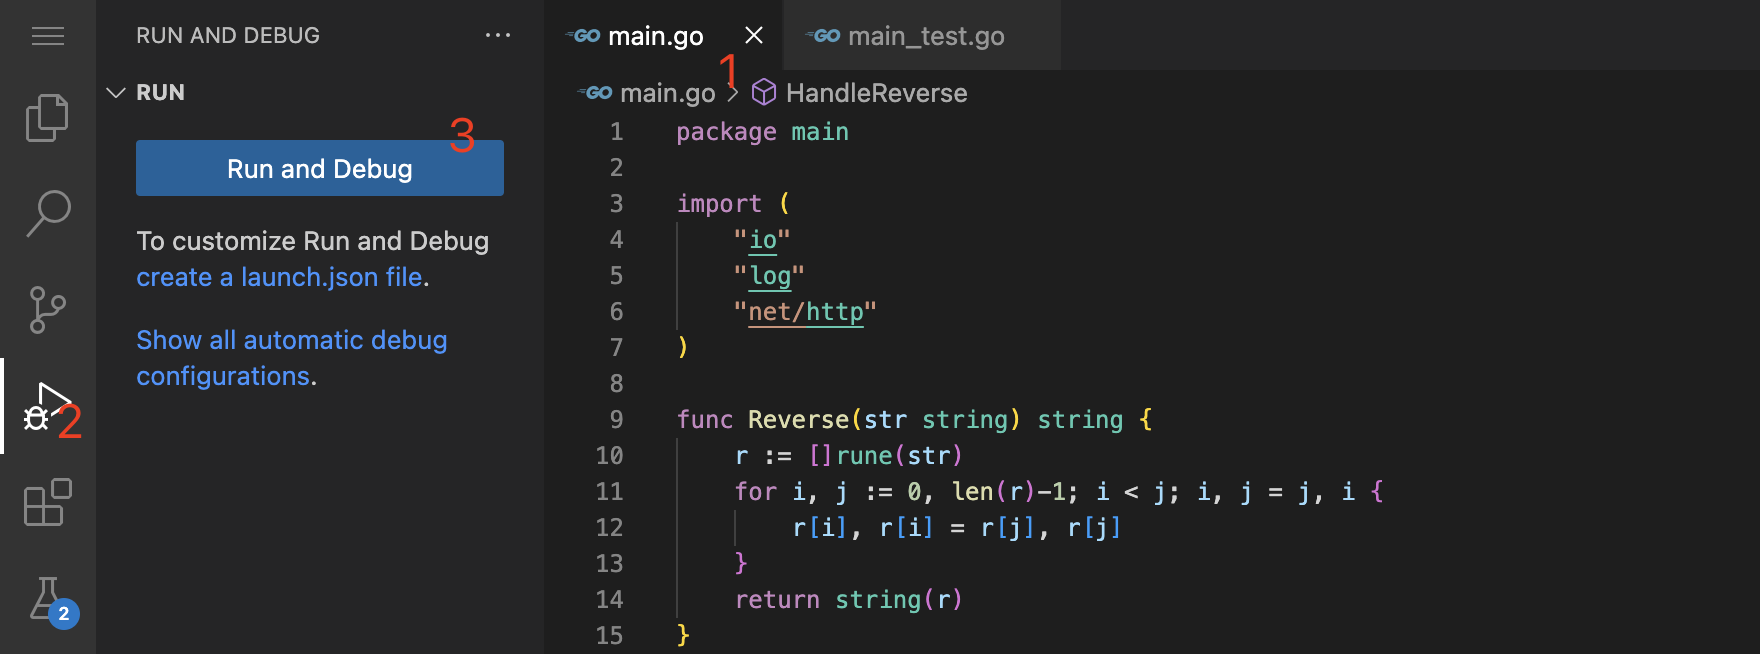
1、Run and Debug
2、create a lanuch.json file
3、输入go,可以根据vscode的智能提示进行填充:Go: Launch test function
1 | { |
| 配置名 | 说明 |
|---|---|
| name | 配置名称,必选 |
| type | 使用Go扩展,固定为go |
| request | 固定为launch,下面对主程序调试时,还可以使用attach |
| mode | 固定为test,表示调试单元测试 |
| program | 程序所处的目录,默认为工作区目录 |
| args | 传递调试程序的命令行参数 |
其中args 参数中的-test.run等同于go test --run,后面跟要调试的单元测试函数。
更多关于Launch.json的参数说明,详见:Launch.json attributes
调试主程序
方式一:Run and Debug
默认情况下,最简单的方式开启对主程序的调试是,打开main.go,启动Run and Debug,此时vscode能够自动识别对主程序的调试。
方式二:Launch
通常情况下,主程序可能会接收命令行参数,和调试单元测试一样,可以使用vscode的Launch功能。
1、Run and Debug
2、create a lanuch.json file
3、输入go,可以根据vscode的智能提示进行填充:Go: Launch package
1 | { |
方式三:Attach
有些此情下,主程序并不受我们的程序控制,比如你的程序是以插件的方式加载到主程序中执行,这个时候如果需要调试你的代码,可以使用attach的方式调度,同时我们需要配置一下launch.json,在launch.json中添加Attach to local process:
1 | { |
processId指需要attach的进程,如果是0,在启动调试时。对需要调试的进程,需要使用 go build -gcflags=all="-N -l" 进行编译。下面演示采用attach方式进行调试。
1、编译
1 | go build -gcflags=all="-N -l" main.go |
2、运行主程序
1 | ./main |
3、在Reverse函数中设置断点
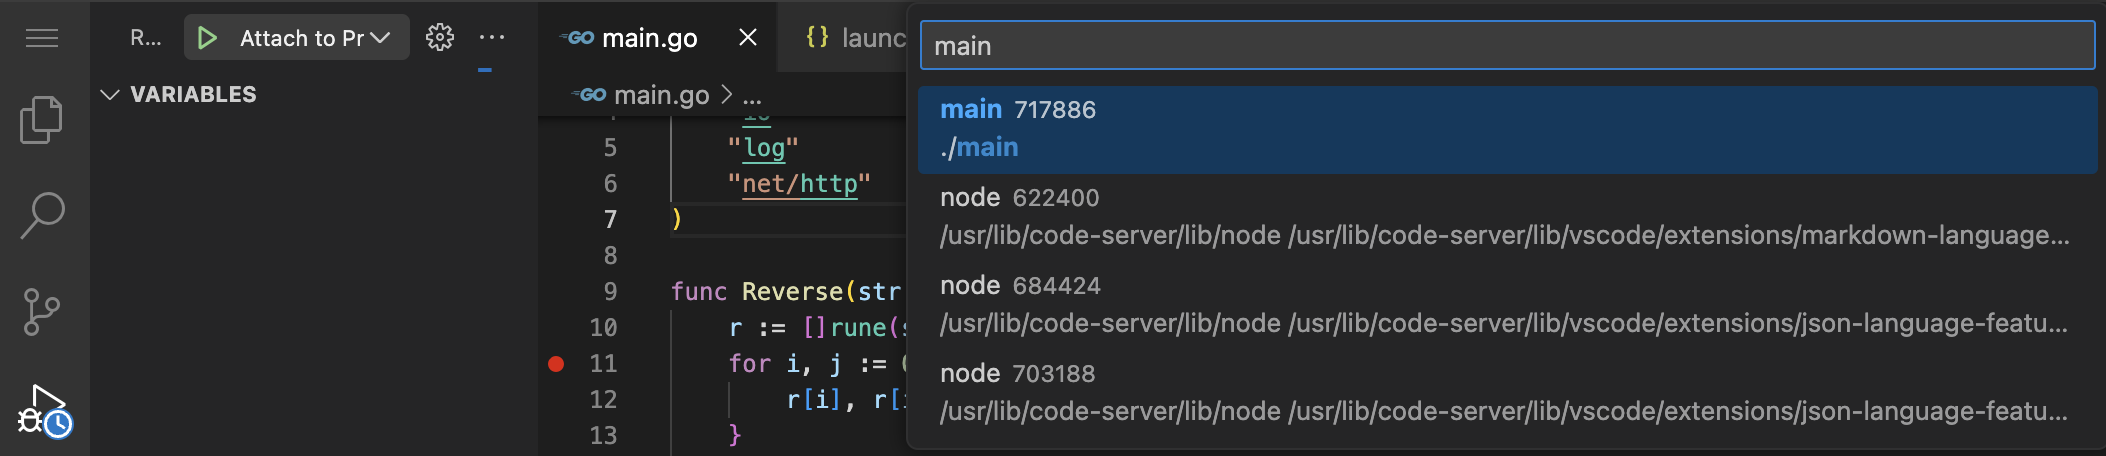
4、Run and Debug > 选择上面配置Attach to Process > Start Debugging,
由于processId为0,此时vscode会提示你,让你指定要attach的进程,输入main:
5、客户端发送请求
1 | curl -v -XPOST 'http://localhost:8888/reverse' -d'dello worlh' |
程序是否在断点处暂停了呢?